The installation process of 2mm Touch Access Lock Glass is a crucial aspect to ensure its proper functionality and longevity. As a supplier of 2mm Touch Access Lock Glass, I am well - versed in the steps involved in its installation. In this blog, I will walk you through a detailed installation process, from preparation to the final checks.
Pre - installation Preparation
Before starting the installation, it is essential to gather all the necessary tools and materials. You will need a clean, lint - free cloth, a measuring tape, a level, a drill (if required), screws, and a silicone sealant. Additionally, make sure the installation area is clean and free from any debris or dust. This will prevent any particles from getting trapped between the glass and the surface, which could potentially damage the glass or affect its performance.
Inspect the 2mm Touch Access Lock Glass thoroughly for any cracks, scratches, or other defects. If you find any issues, contact your supplier immediately for a replacement. It is also a good idea to measure the installation area accurately to ensure that the glass fits perfectly. Double - check the dimensions against the specifications provided by the supplier.
Mounting the Frame (if applicable)
In some cases, the 2mm Touch Access Lock Glass may require a frame for installation. If this is the case, start by positioning the frame in the installation area. Use a level to ensure that the frame is perfectly horizontal and vertical. Mark the screw holes on the surface where the frame will be attached.
Drill pilot holes at the marked locations. This will prevent the wood or other materials from splitting when you insert the screws. Insert the screws into the pilot holes and tighten them securely. Make sure the frame is firmly attached to the surface and does not wobble.
Cleaning the Installation Surface
Clean the installation surface with a mild detergent and water. Rinse it thoroughly and dry it with a clean, lint - free cloth. This will remove any dirt, grease, or other contaminants that could prevent the glass from adhering properly.
If the surface is made of metal, you may need to use a metal cleaner to remove any rust or oxidation. For wooden surfaces, sand the area lightly to create a rough surface for better adhesion.
Applying the Sealant
Apply a thin, even bead of silicone sealant around the perimeter of the frame or the installation area. Make sure the sealant is applied close to the edge to prevent any water or moisture from seeping behind the glass. Use a caulking gun for a more precise application.
Be careful not to apply too much sealant, as this can cause it to squeeze out when the glass is placed on top. Wipe off any excess sealant immediately with a damp cloth.
Placing the 2mm Touch Access Lock Glass
Carefully lift the 2mm Touch Access Lock Glass and place it on top of the sealant. Align the glass with the frame or the installation area, making sure it is centered and level. Press down gently on the glass to ensure good contact with the sealant.
If the glass has electrical connections, make sure they are properly aligned and connected according to the manufacturer's instructions. This may involve plugging in cables or attaching connectors.
Securing the Glass
Once the glass is in place, use clips or brackets to secure it to the frame or the surface. Make sure the clips or brackets are evenly spaced and tightened securely. This will prevent the glass from shifting or moving during use.

If the installation area has a cover or a protective layer, place it over the glass and secure it in place. This will protect the glass from scratches and other damage.
Testing the Lock Function
After the glass is installed and secured, test the touch access lock function. Follow the manufacturer's instructions to activate the lock and check if it responds correctly to touch commands. Try different touch patterns and pressures to ensure that the lock is working properly.
If the lock does not work as expected, check the electrical connections and make sure they are secure. You may also need to refer to the troubleshooting guide provided by the manufacturer.
Final Checks
Inspect the installation one last time to make sure everything is in order. Check for any gaps between the glass and the frame or the surface. If there are any gaps, apply additional sealant to fill them.
Clean the glass surface with a glass cleaner to remove any fingerprints or smudges. Make sure the glass is clear and free from any obstructions.
Benefits of 2mm Touch Access Lock Glass
The 2mm Touch Access Lock Glass offers several benefits. It provides a sleek and modern look to any installation. The touch - sensitive technology allows for easy and convenient access control. It is also highly durable and resistant to scratches and impacts.
Compared to traditional locks, the 2mm Touch Access Lock Glass is more secure as it can be programmed with unique access codes. This makes it ideal for use in commercial buildings, residential complexes, and other areas where security is a concern.
Related Products
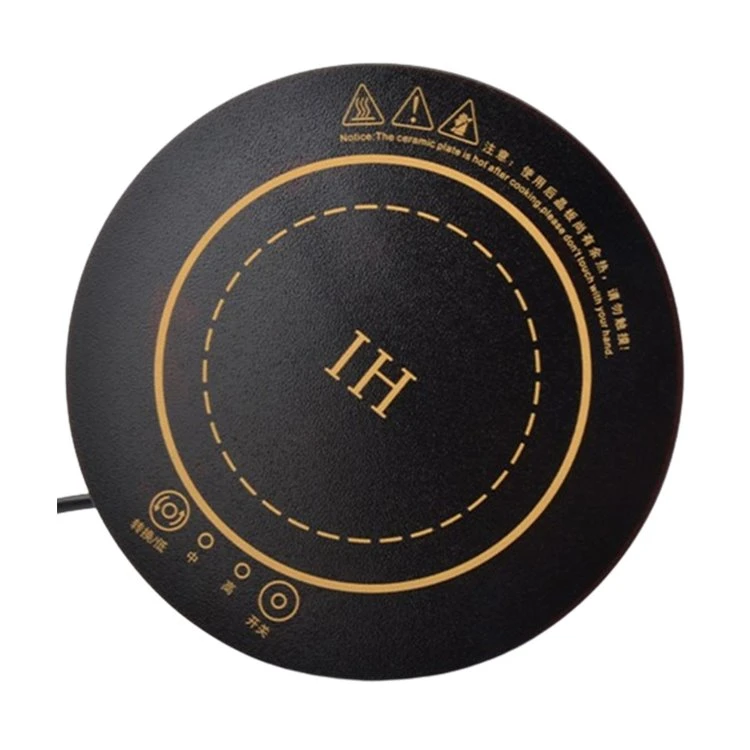
In addition to the 2mm Touch Access Lock Glass, we also offer other high - quality tempered glass products, such as the Induction Cooker Tempered Glass Panel and the Touch Control Panel Glass Display. These products are designed to meet the specific needs of different industries and applications.
Contact for Purchase and Consultation
If you are interested in purchasing 2mm Touch Access Lock Glass or have any questions about its installation or other aspects, feel free to contact us. We have a team of experts who can provide you with detailed information and assist you in making the right choice for your project. Our commitment to quality and customer satisfaction ensures that you will receive the best products and services.
References
- Manufacturer's installation guide for 2mm Touch Access Lock Glass.
- Industry standards for tempered glass installation.