

Hey there! As a supplier of Rice Cooker Control Panels, I'm super excited to walk you through the installation process of these nifty little components. So, let's dive right in!
1. Pre - installation Checks
Before you start the actual installation, there are a few things you gotta check. First off, make sure you've got all the necessary tools. You'll typically need a screwdriver (both flat - head and Phillips - head usually do the trick), some wire cutters, and maybe a pair of pliers.
Inspect the control panel itself. Look for any visible damage like cracks or loose wires. You don't want to install a faulty panel, right? Also, check the compatibility of the panel with your rice cooker model. We design our panels to fit a wide range of models, but it's always a good idea to double - check.
2. Removing the Old Panel (if applicable)
If you're replacing an old control panel, the first step is to disconnect the rice cooker from the power source. Safety first, folks! You don't want to get zapped while you're working.
Next, locate the screws that hold the old control panel in place. Usually, they're at the back or around the edges of the panel. Use your screwdriver to remove these screws carefully and keep them in a safe place. Once the screws are out, gently pull the old panel away from the rice cooker. You'll see a bunch of wires connected to it.
Take a good look at how these wires are connected. It's a great idea to take a picture with your phone so you can refer back to it later when you're installing the new panel. Use your wire cutters or pliers to disconnect the wires from the old panel. Make sure you're gentle so you don't damage the wires.
3. Familiarizing with the New Panel
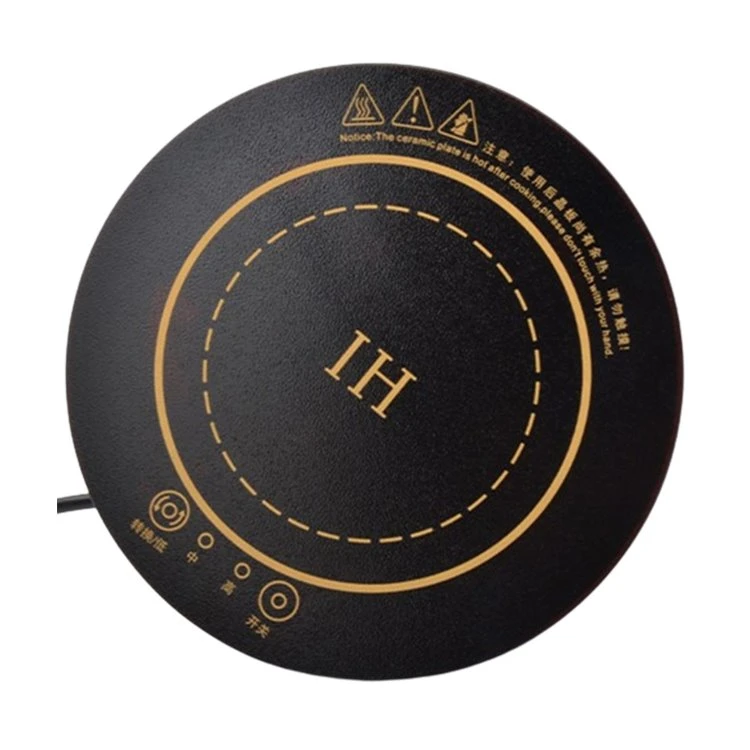
Now that you've got the old panel out of the way, it's time to take a good look at the new Rice Cooker Control Panel. Notice the different buttons, displays, and connection points. Our panels often come with a user manual that explains what each part does. It's a good idea to give it a quick read through.
Some of our panels, like the ones with a Touch Screen for Household Appliances, have a sleek and modern design. These touch - screen panels are really intuitive to use, but you'll want to understand how they work before you install them.
4. Installing the New Panel
First, start connecting the wires to the new panel. Refer to the picture you took earlier or the wiring diagram in the manual. Make sure each wire is connected to the correct terminal. It's a bit like doing a puzzle, but once you get the hang of it, it's not too hard.
Once the wires are connected, carefully place the new panel into the slot where the old panel was. Align it properly so that the holes for the screws line up. Then, use the screws you removed earlier to secure the panel in place. Don't over - tighten the screws, or you might damage the panel.
5. Testing the Panel
After the panel is installed, it's time to test it. But before you plug the rice cooker back in, double - check all the connections one more time. Make sure everything is secure and there are no loose wires.
Now, plug the rice cooker into the power source. Turn it on and see if the panel lights up. Try pressing some of the buttons to see if they're working as they should. If you've installed a touch - screen panel, test the touch functionality. If everything seems to be working fine, congratulations! You've successfully installed the rice cooker control panel.
6. Troubleshooting
But what if things don't go as smoothly as you'd hoped? Don't worry, it happens to the best of us. If the panel doesn't light up, the first thing to check is the power connection. Make sure the rice cooker is properly plugged in and the outlet is working.
If the buttons aren't responding, it could be a wiring issue. Check to see if any wires came loose during the installation. You might need to open up the panel again and re - check the connections.
If you're still having problems, our customer support team is always here to help. Just reach out to us, and we'll do our best to solve the issue.
Why Choose Our Rice Cooker Control Panels
We're not just any supplier. Our control panels are made with high - quality materials. For example, our Elevator Touch Control Glass Panel technology is also applied in our rice cooker control panels in some models, ensuring durability and a great user experience.
Our Induction Cooker Tempered Glass Panel expertise also plays a role in the design of our rice cooker panels. The tempered glass gives a sleek look and is resistant to scratches and heat.
Contact Us for Your Purchase
If you're in the market for a new Rice Cooker Control Panel, we'd love to hear from you. Whether you're a small business looking to stock up or a home - user in need of a replacement, we've got you covered. Contact us for more information, and let's start a great business relationship. We can offer you competitive prices, high - quality products, and excellent customer service. Don't hesitate to reach out and start the conversation about your panel needs.

References
- General knowledge about rice cooker control panel installation
- Product manuals of our Rice Cooker Control Panels